2 Boards Short
I don’t really want to know how many hours we put into this ceiling. I did a back-of-the-envelope calculation and stopped totaling at 50 hours. It was mostly fun, but I’m glad this project is done.
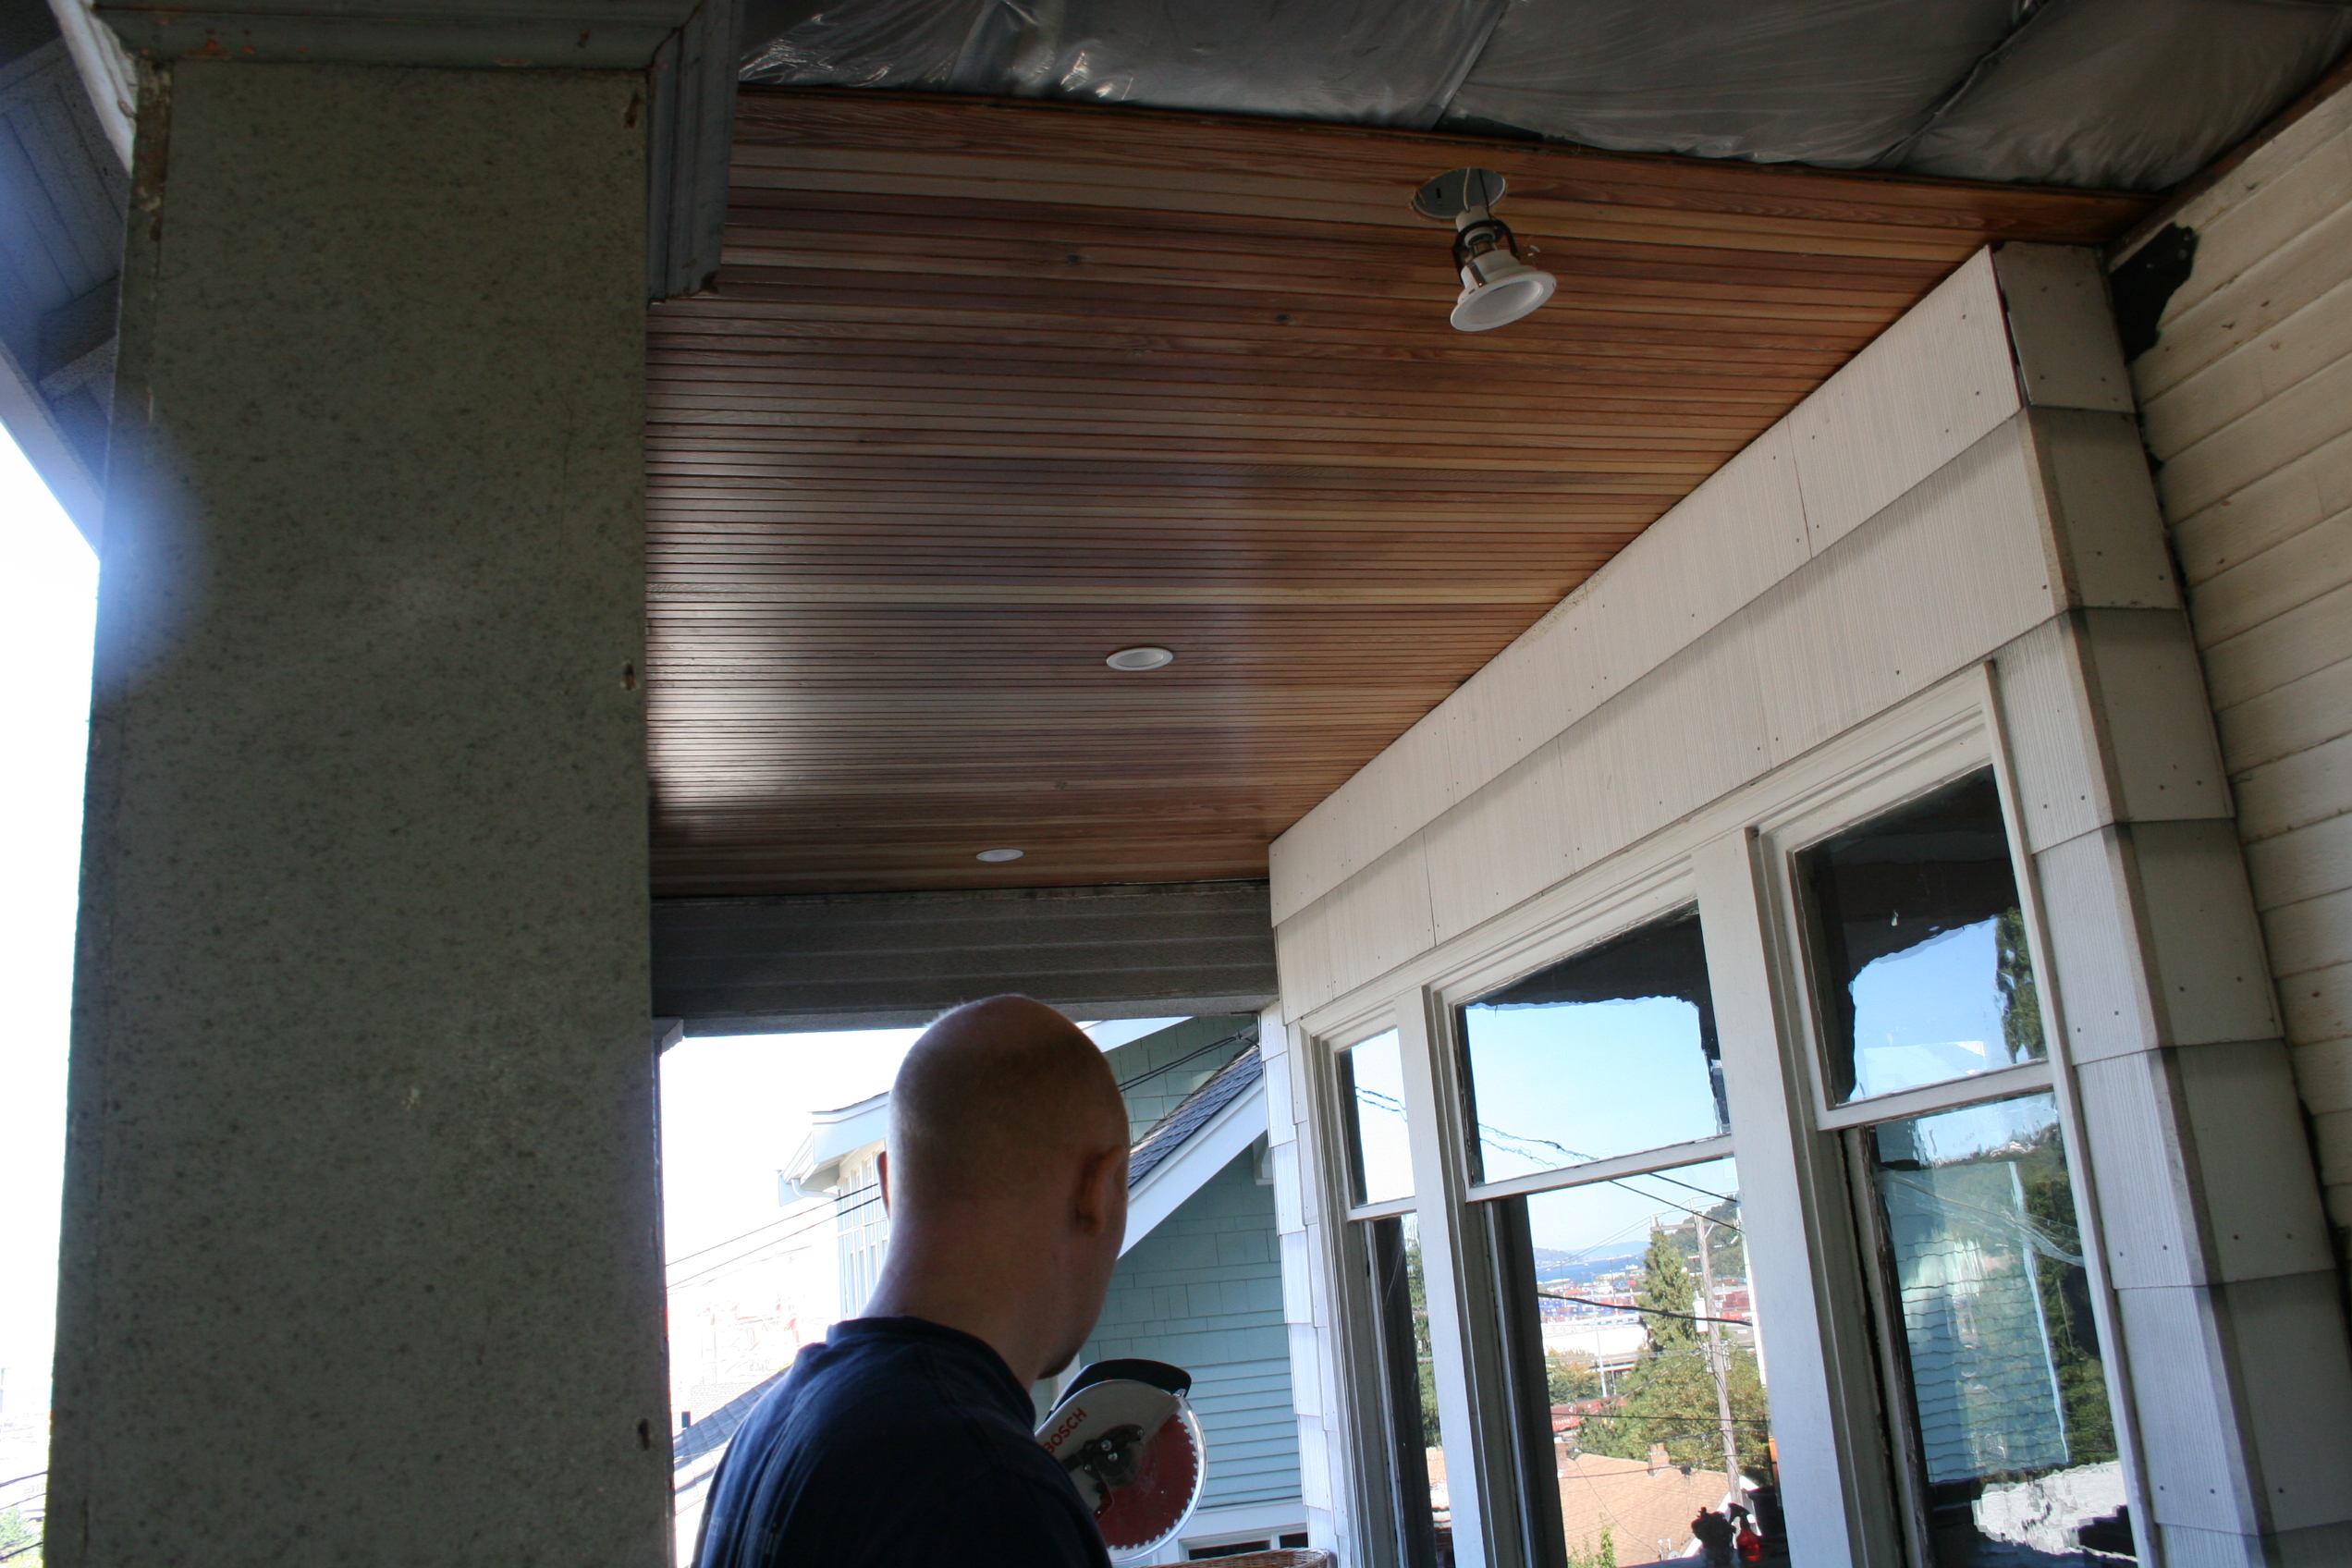
Or, just about done. We came up 2 boards short:
Next weekend I will head to 2nd Use and see if they have any matching beadboard. If not, I will mill some from the left-over tongue and groove fir we have from the floor – it should be a good match, and all I’d have to do is put the V-groove down the middle, and chamfer the edges. We’ll see.
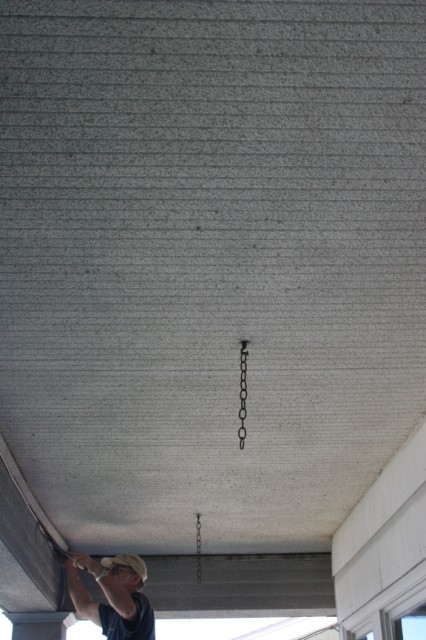
There were a lot of steps to the porch ceiling project, which began as a necessary effort to install the radiant floor tubing for the front bedroom. It was July 2005 when my dad was here that we carefully removed all of the original bead board to expose the joist bays. The boards were painted with thick grey paint impregnated with an awful texture. We spent many hours in August 2005 stripping this gunk off.
The bead board sat stacked in two piles – one half in my shop and the other half up on the porch for the better part of a year. In the meantime we installed the radiant tubing, we insulated twice, once temporarily last winter, and again permanently late this past spring. And then four weeks ago I decided the piles of bead board were in the way of me ever getting a nice and clean shop and needed to be installed. And so began the process of preparing the boards for painting and installation.
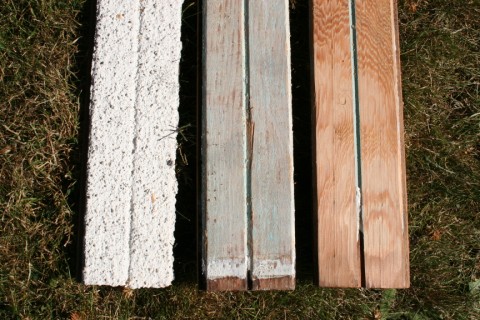
We’d had several discussions about whether to paint or varnish the ceiling. My original vision was to varnish the ceiling, but the realistic outcome of every conversation we had on the subject was “too much work”. I spent my first session four weekends ago with this in mind; I took the roughly stripped boards and sanded them with the orbital sander to a smooth surface. I hand sanded the v-grooves. The boards looked fine but were still obviously stripped of their original coating.
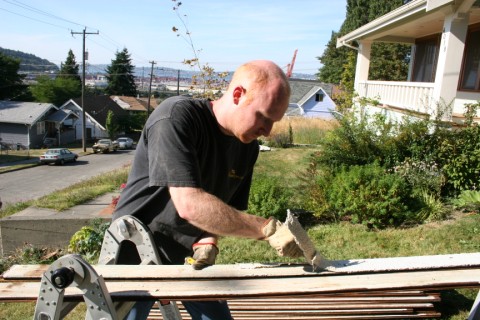
Three weekends ago I decided to try something different – the orbital sander was just too slow for me. I set up my planer and started feeding boards through, taking off about 1/32 of an inch. This decreased the depth of the v-groove, but cleaned the board to a fresh surface, sans paint. The grooves needed work, but I discovered I could effectively clean them by using a ¼” chisel tip as a scraper, pulling it along each side of the groove. In pretty quick order I had a stack of clean boards. Trissa was running errands and called me asking if she should pick up a gallon of primer and I said “you’d better hold off”. When she got home she took one look at my pile and said “you want to varnish those, don’t you?”
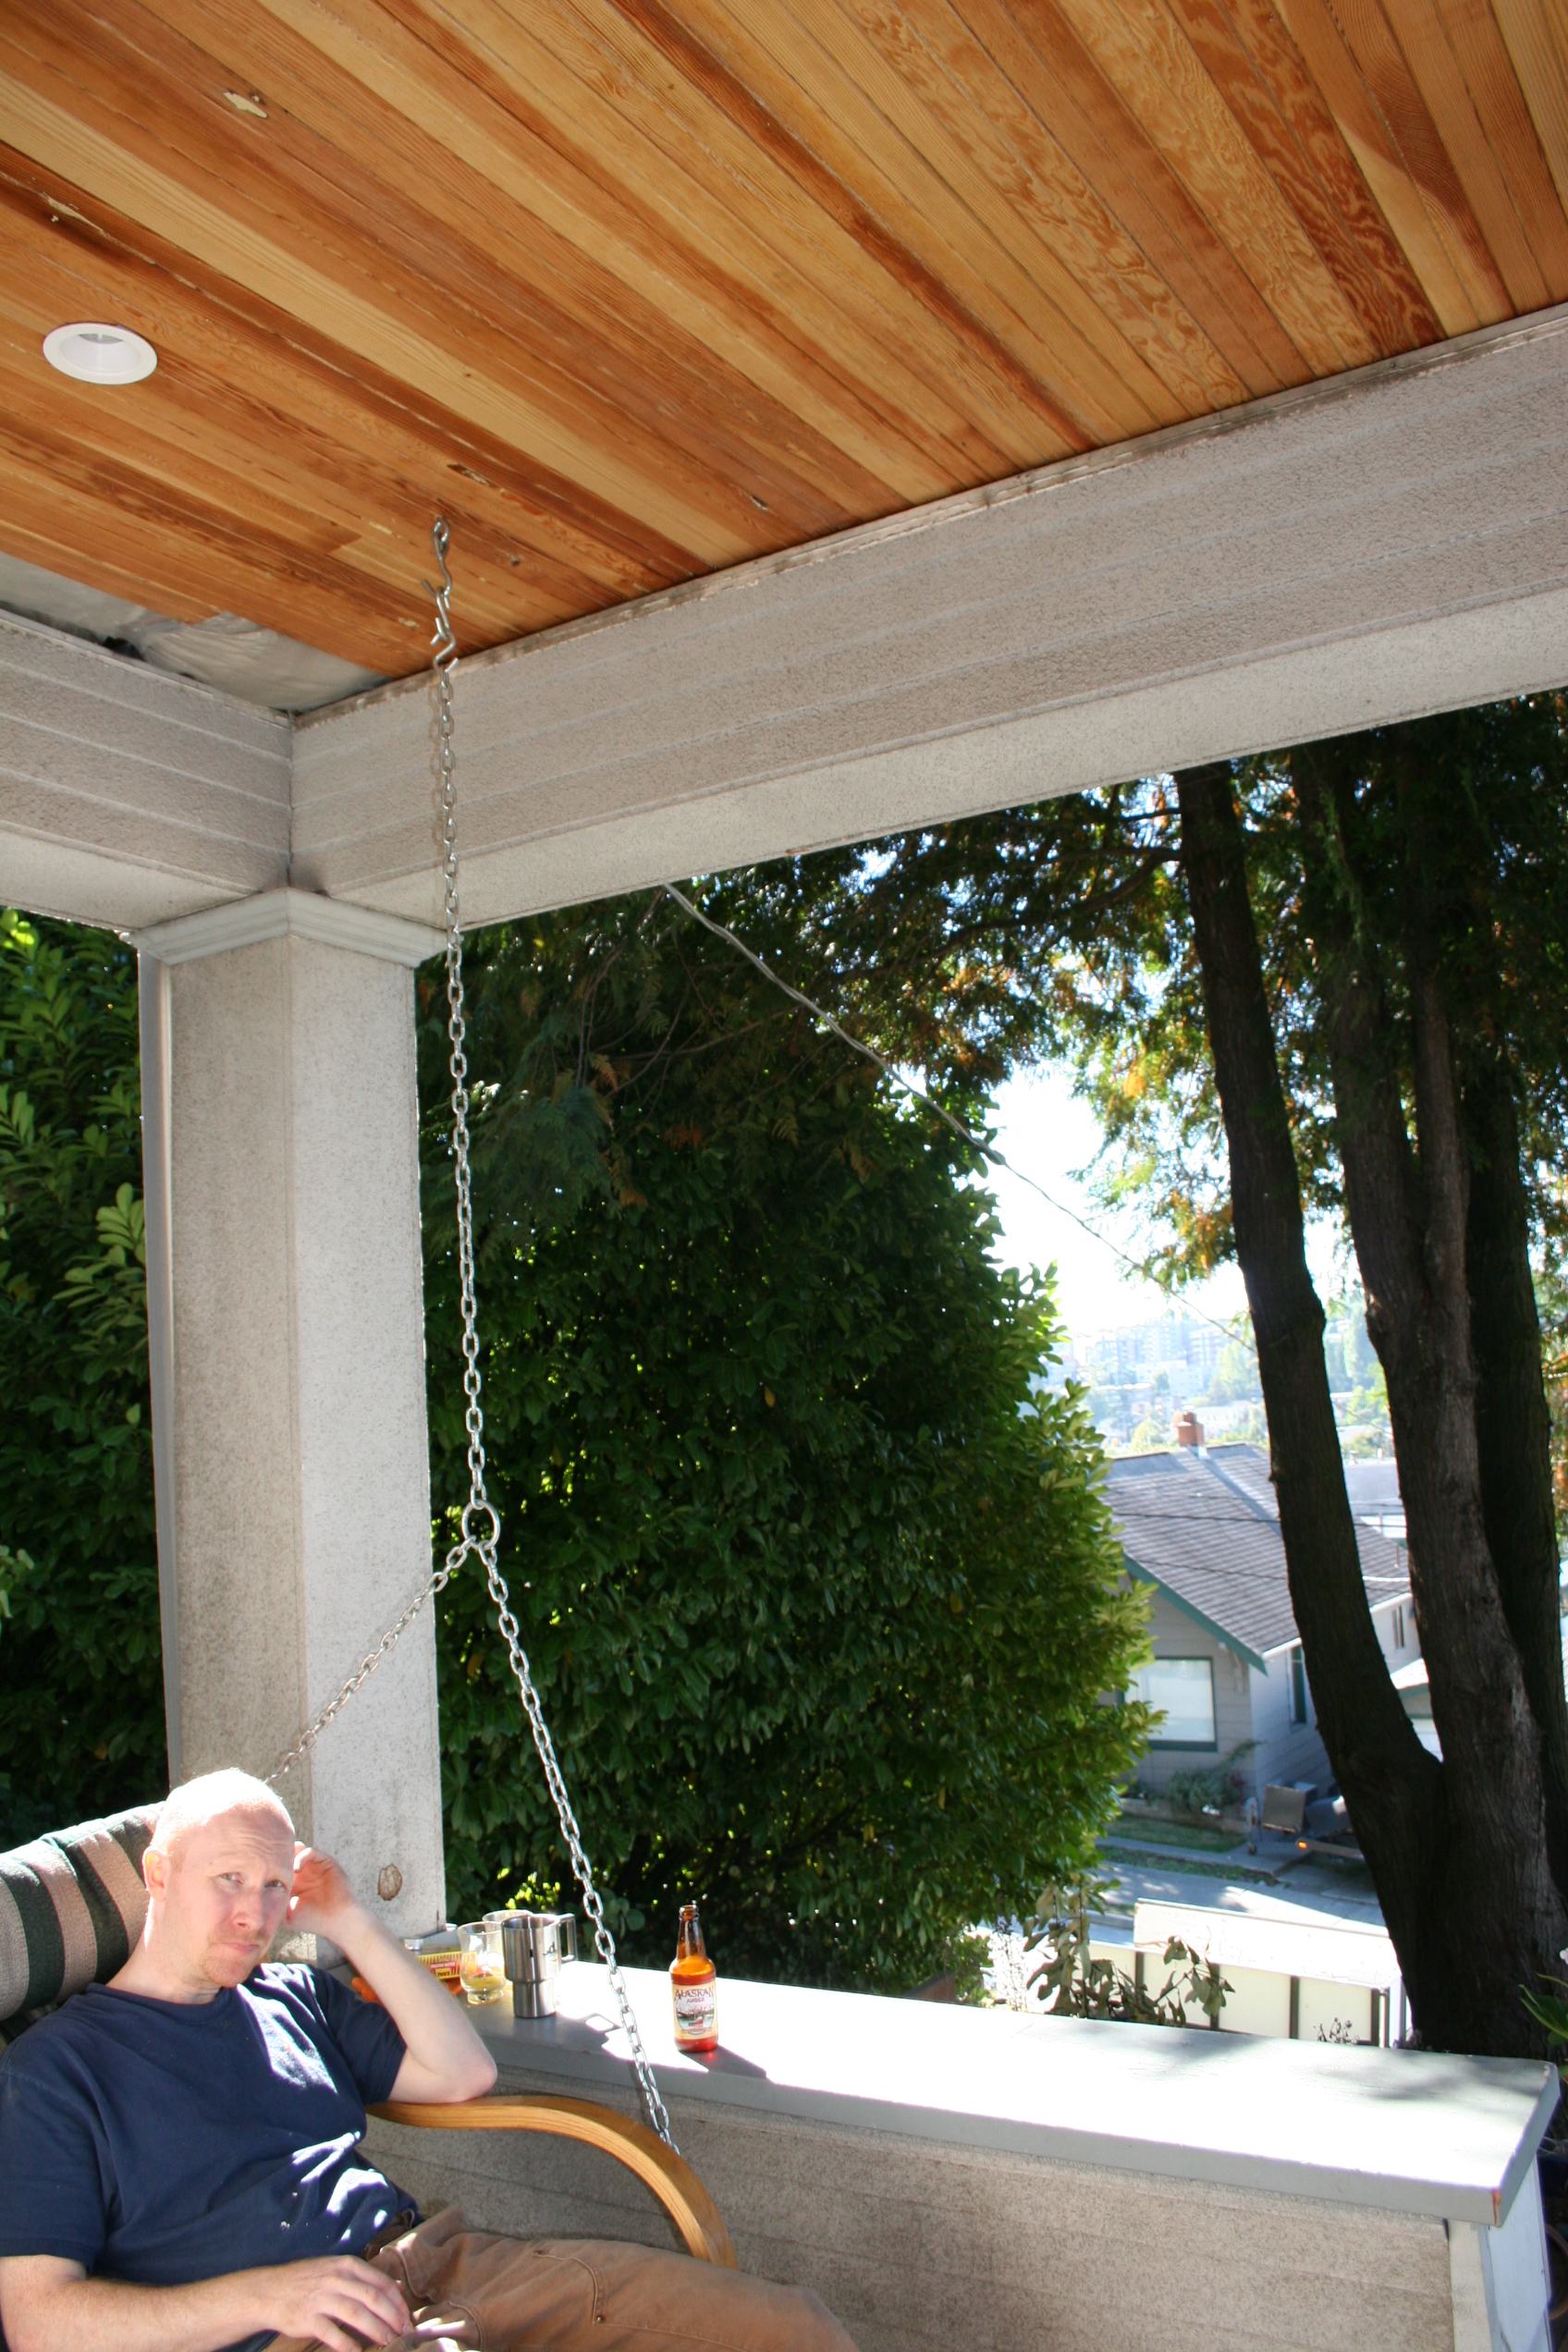
And so I spent two more weekends cleaning up and varnishing the beautiful abused old boards. The best part of the project was on this past Sunday: installation day. Compared to the rest of the project, this 6 hour session was speedy and very rewarding. Check it out:
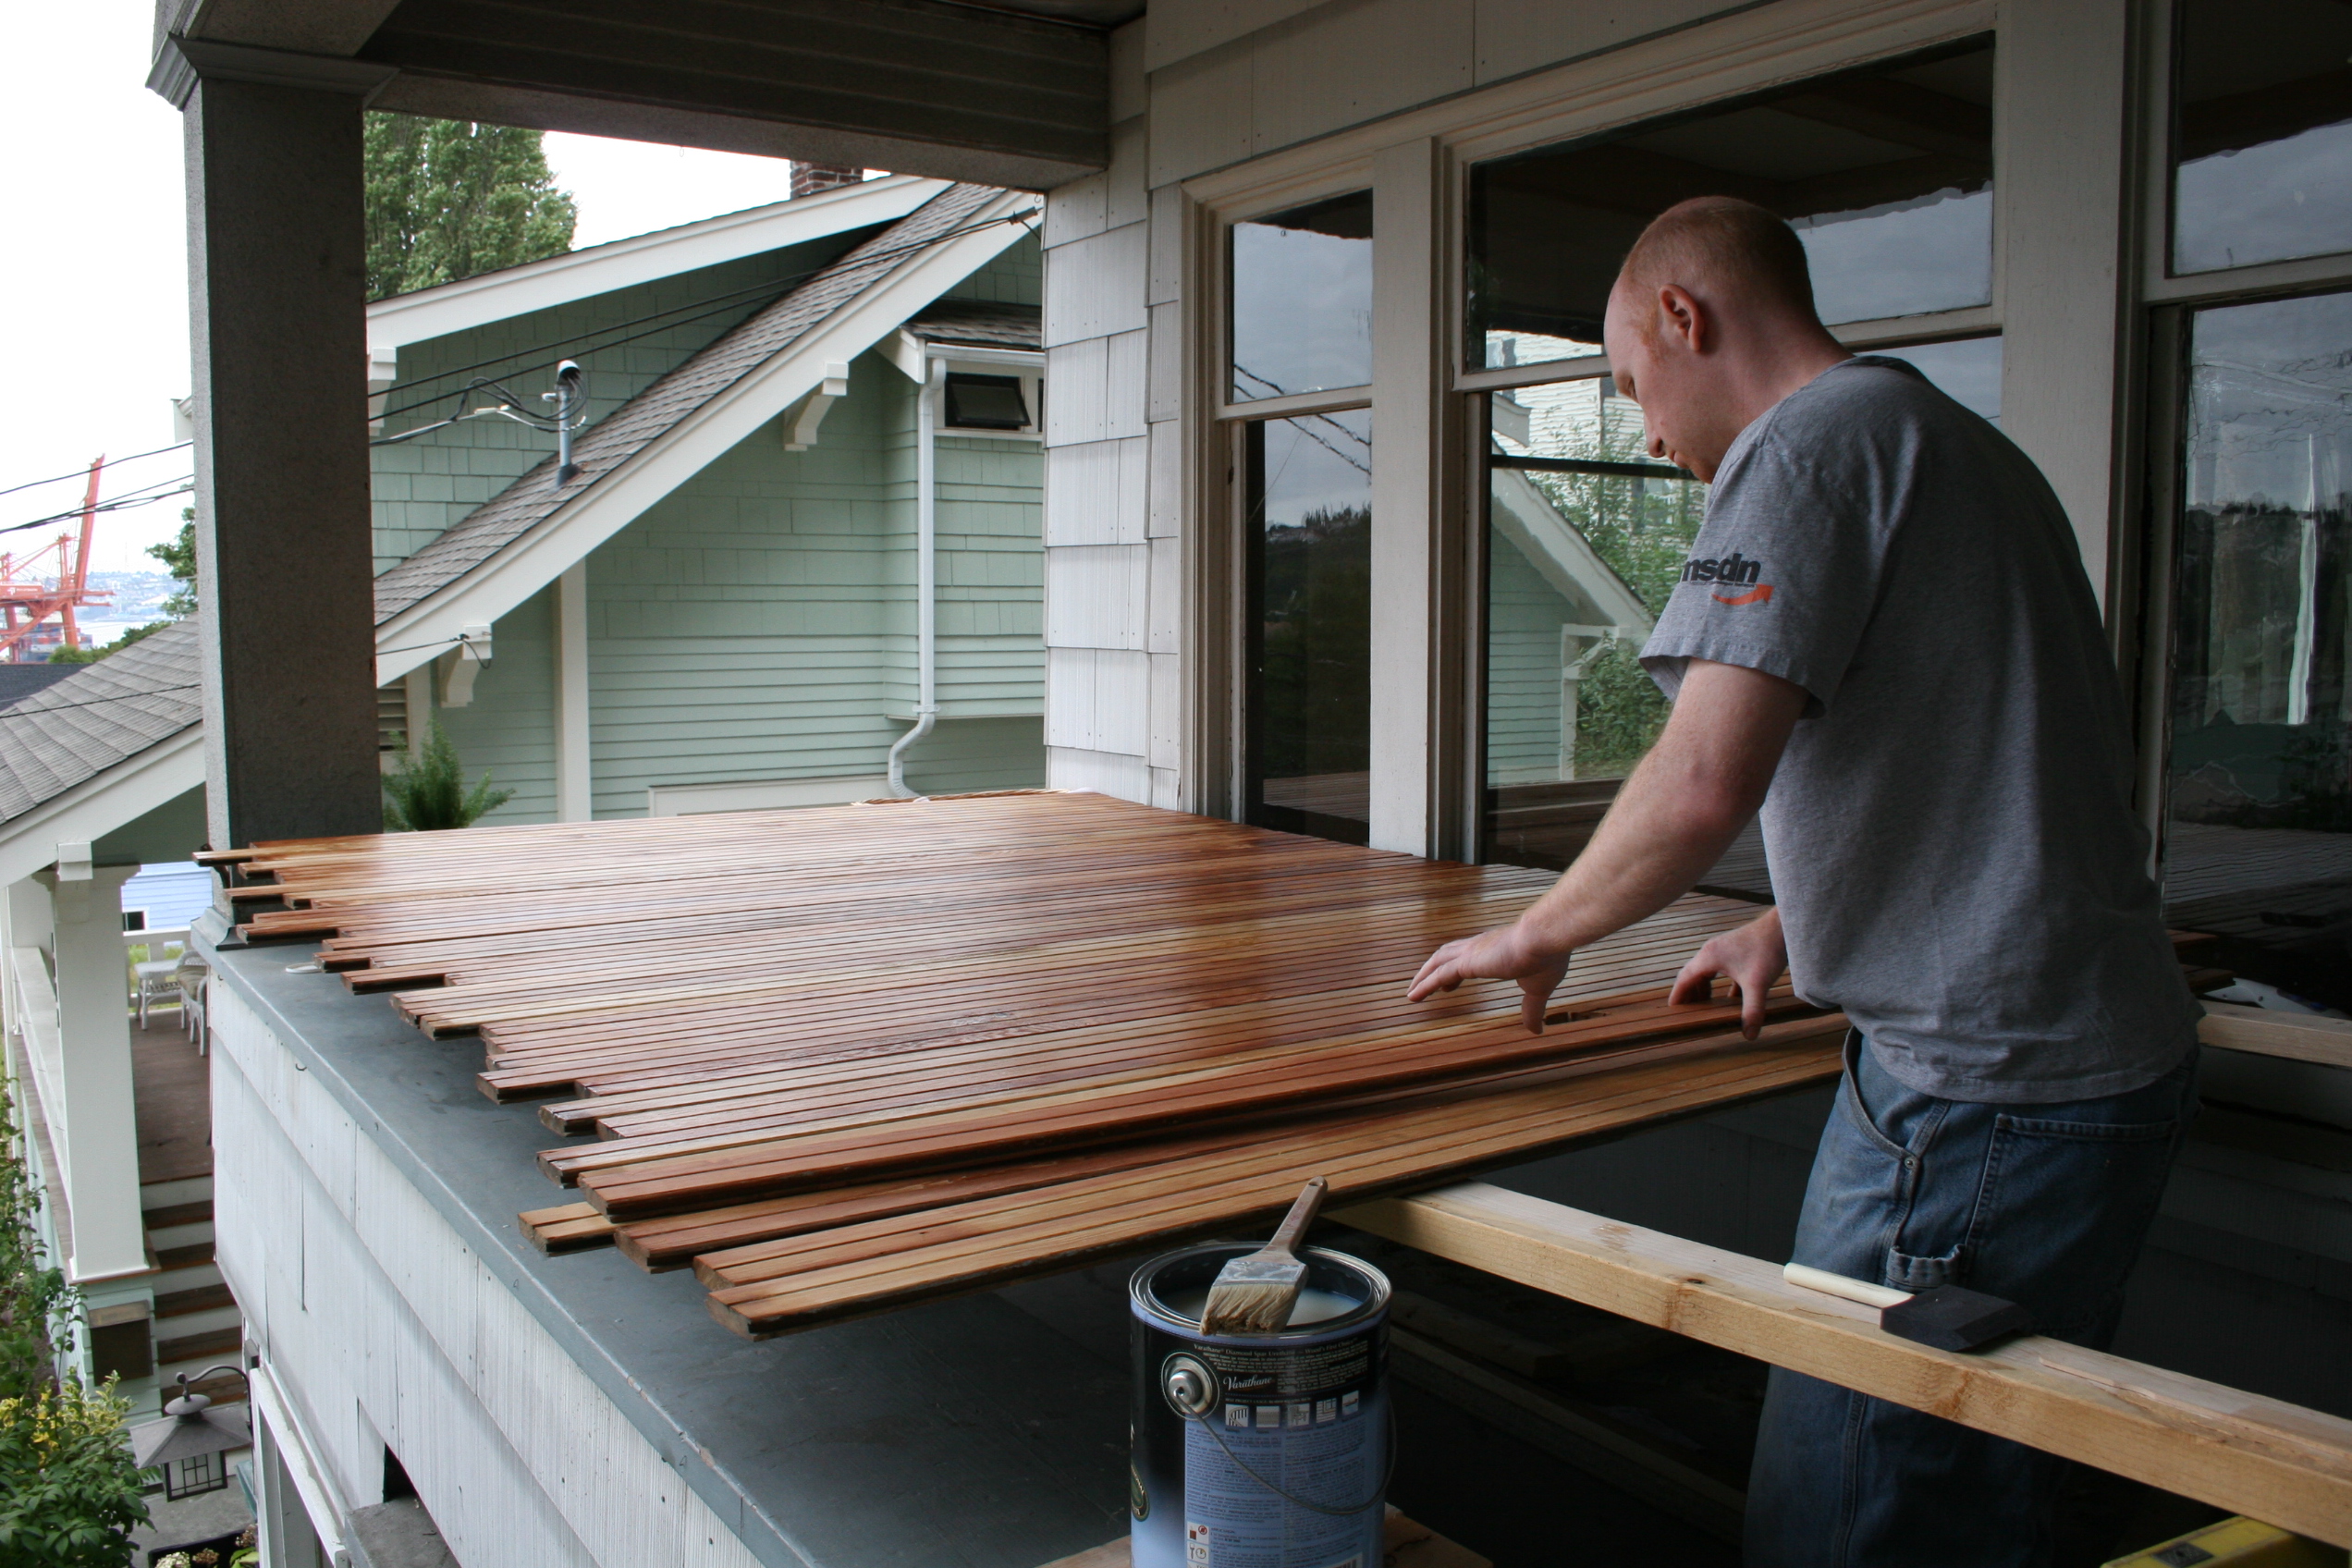
The Before:
The Work:
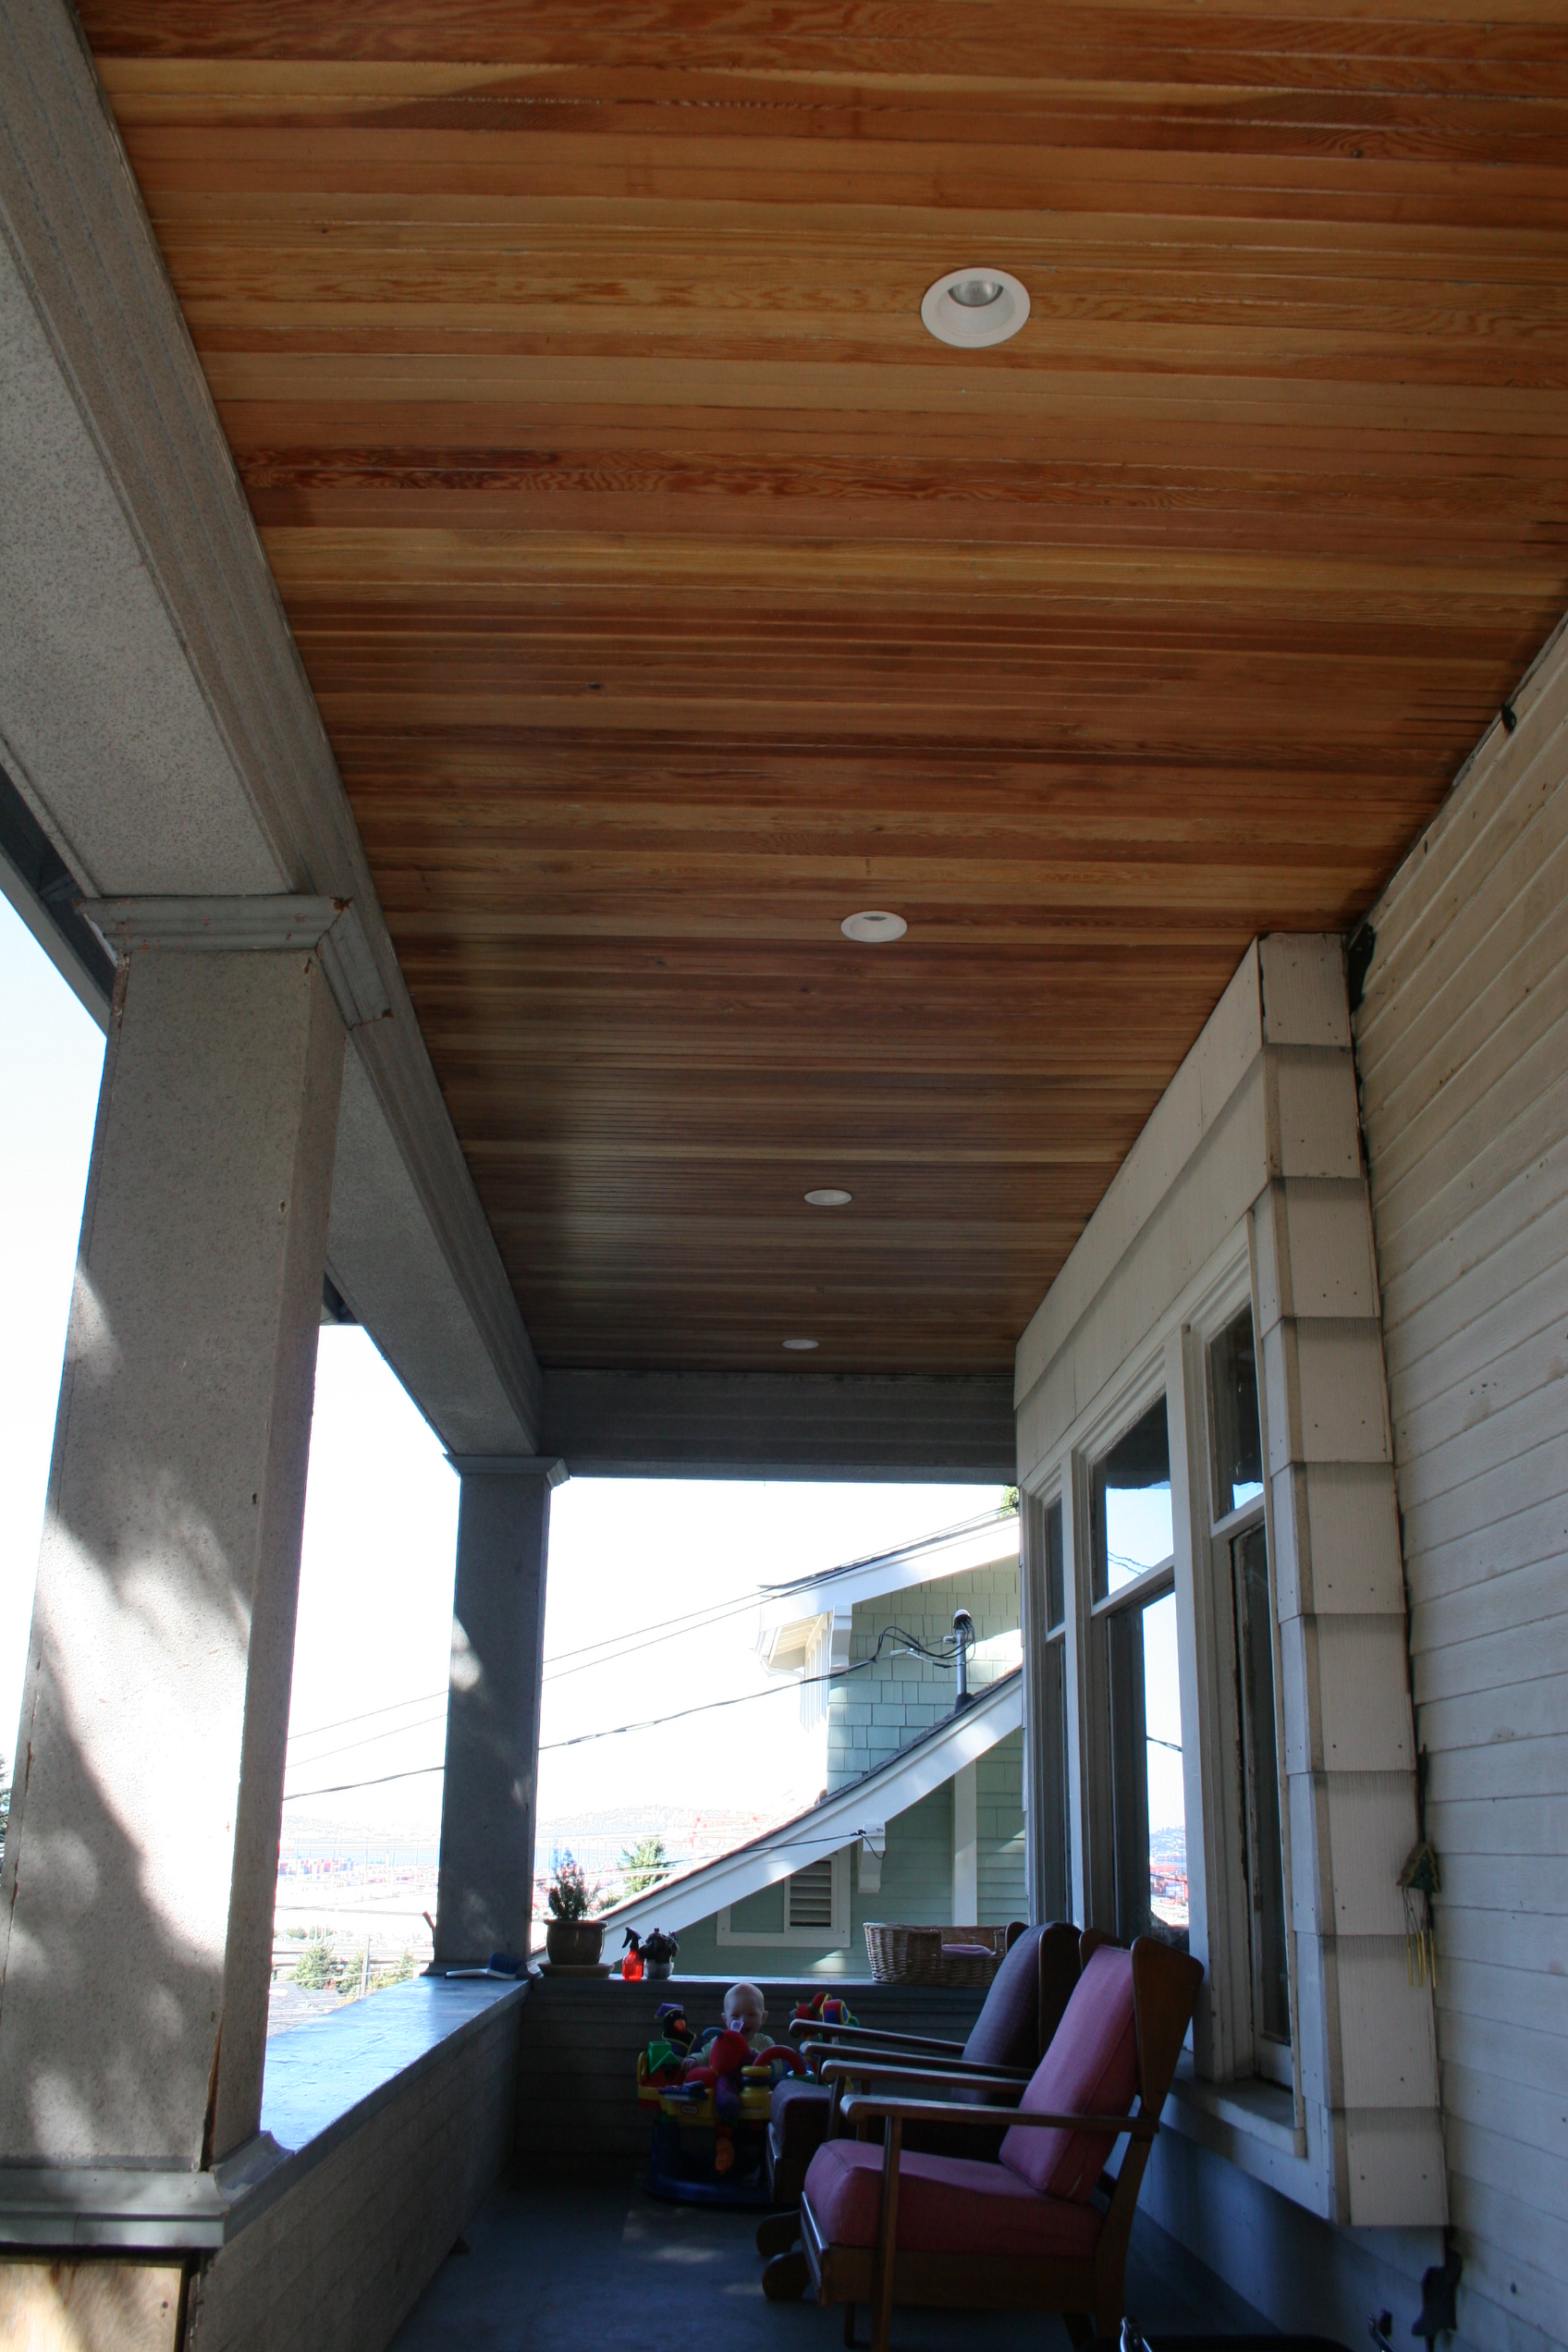
The Money Shot:
2 Comments
Derek·September 26, 2006
we have similiar bevel board on our house, except ours is smaller pieces without the v. It looks great, well worth the effort
Ed·September 26, 2006
I’ve enjoyed reading your blog over the past year or so, and we recently bought a house in the fremont/ballard area and are fixing it up. We started a blog mostly to share with friends and family. It is a private blog, but if you are interested, send me a mail at esssmith at(@) hotmail.com and I’ll send you the link and add you as a user.