Vacation TODO: Day 4
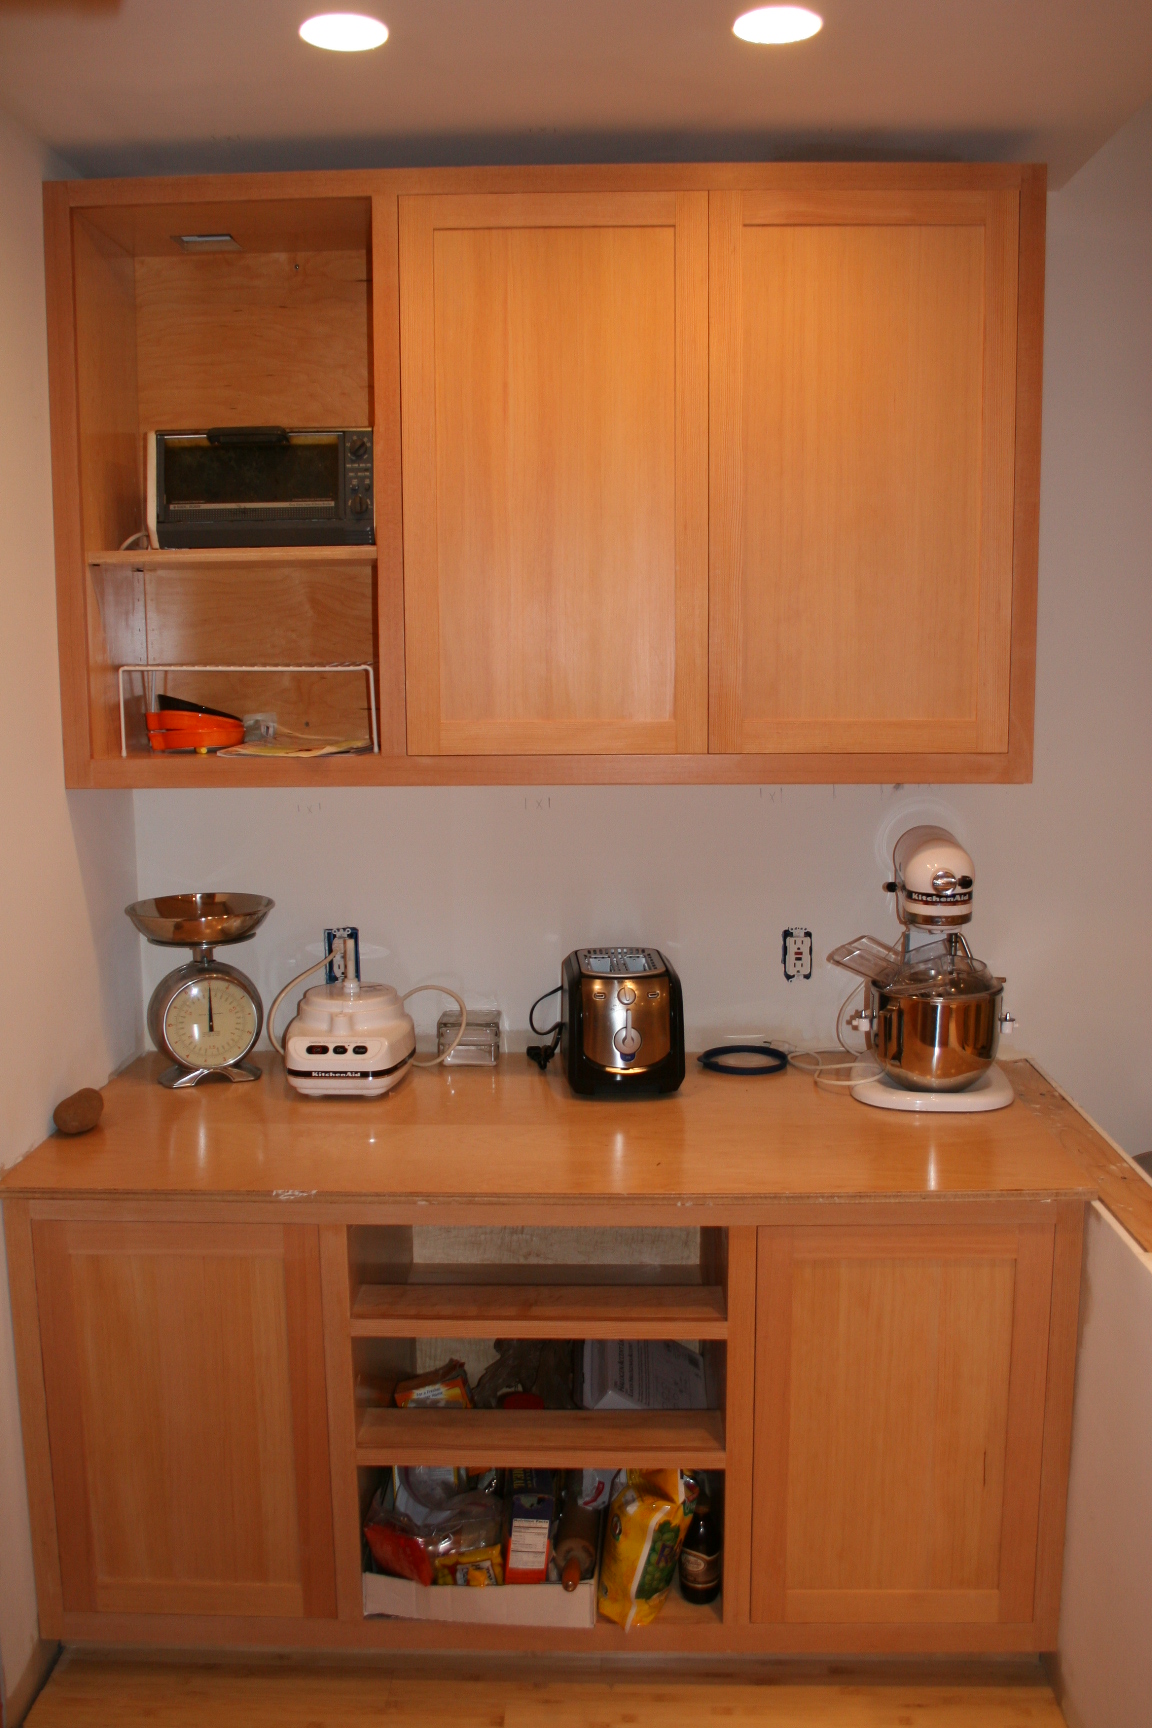
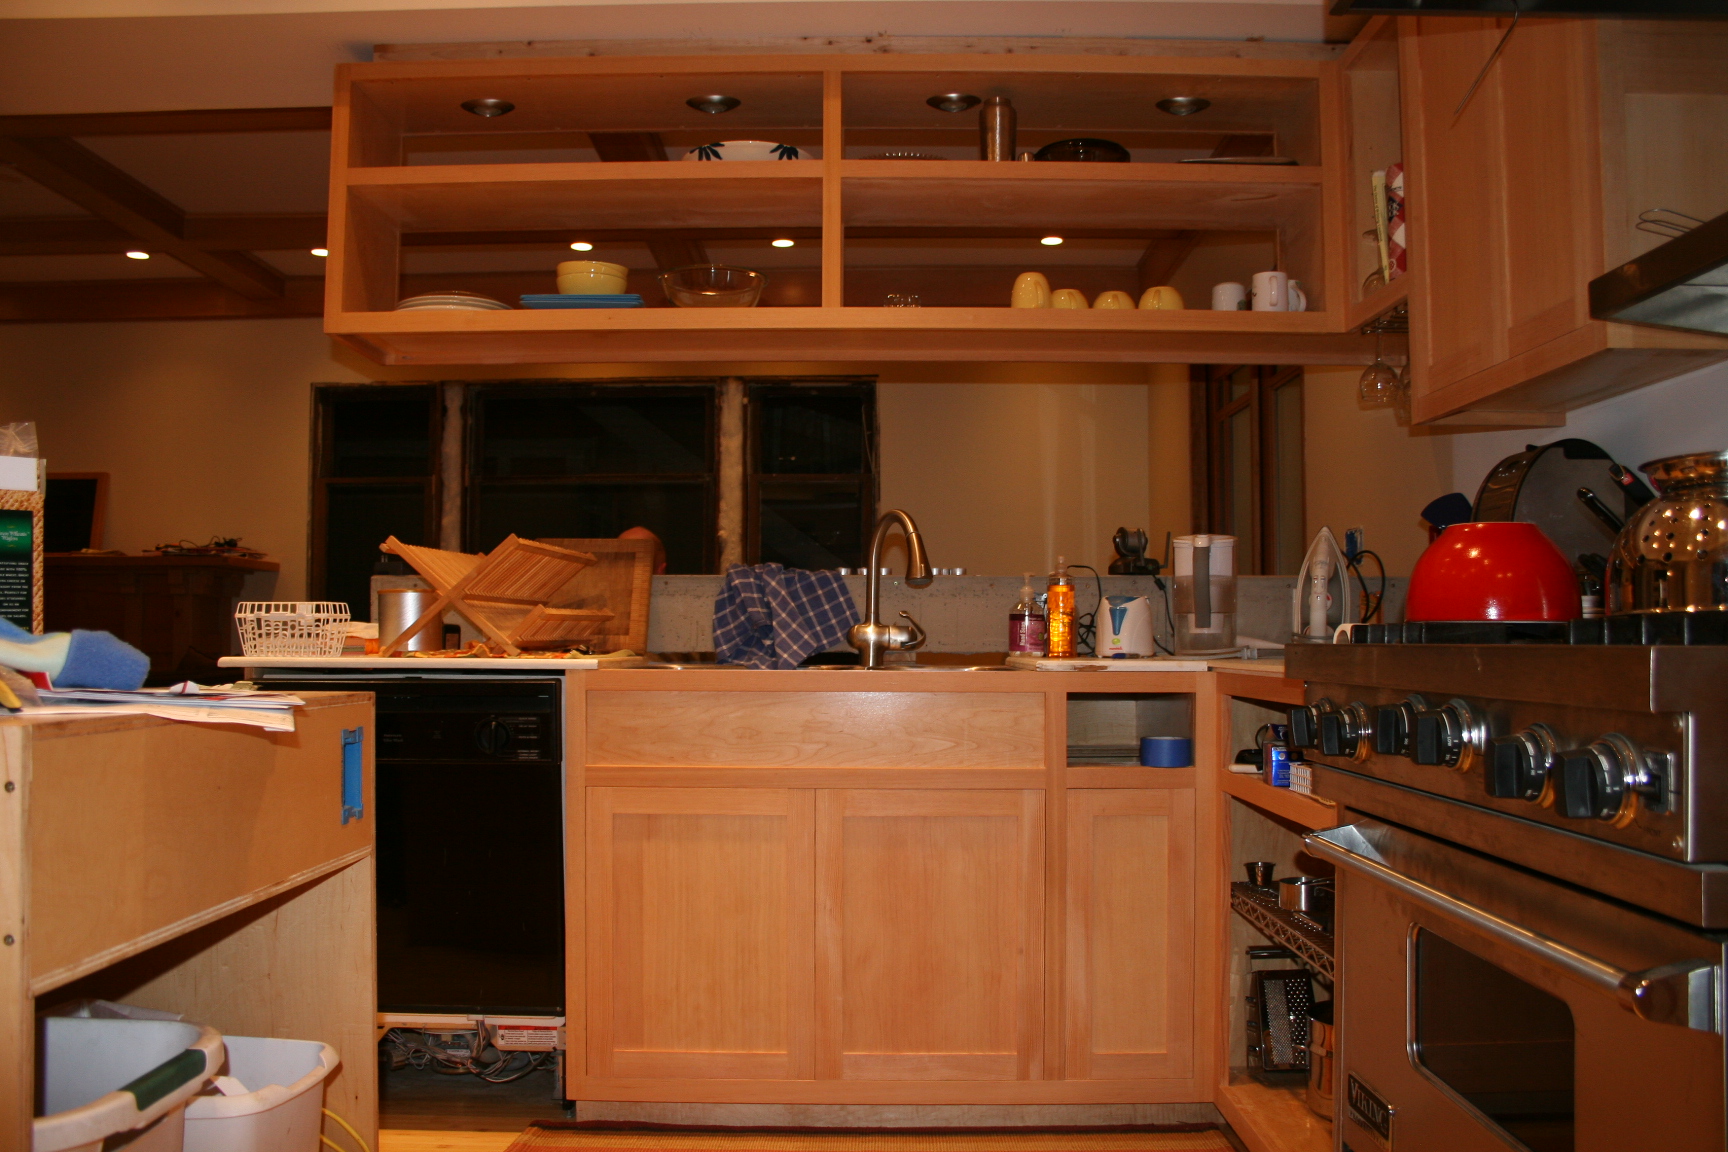
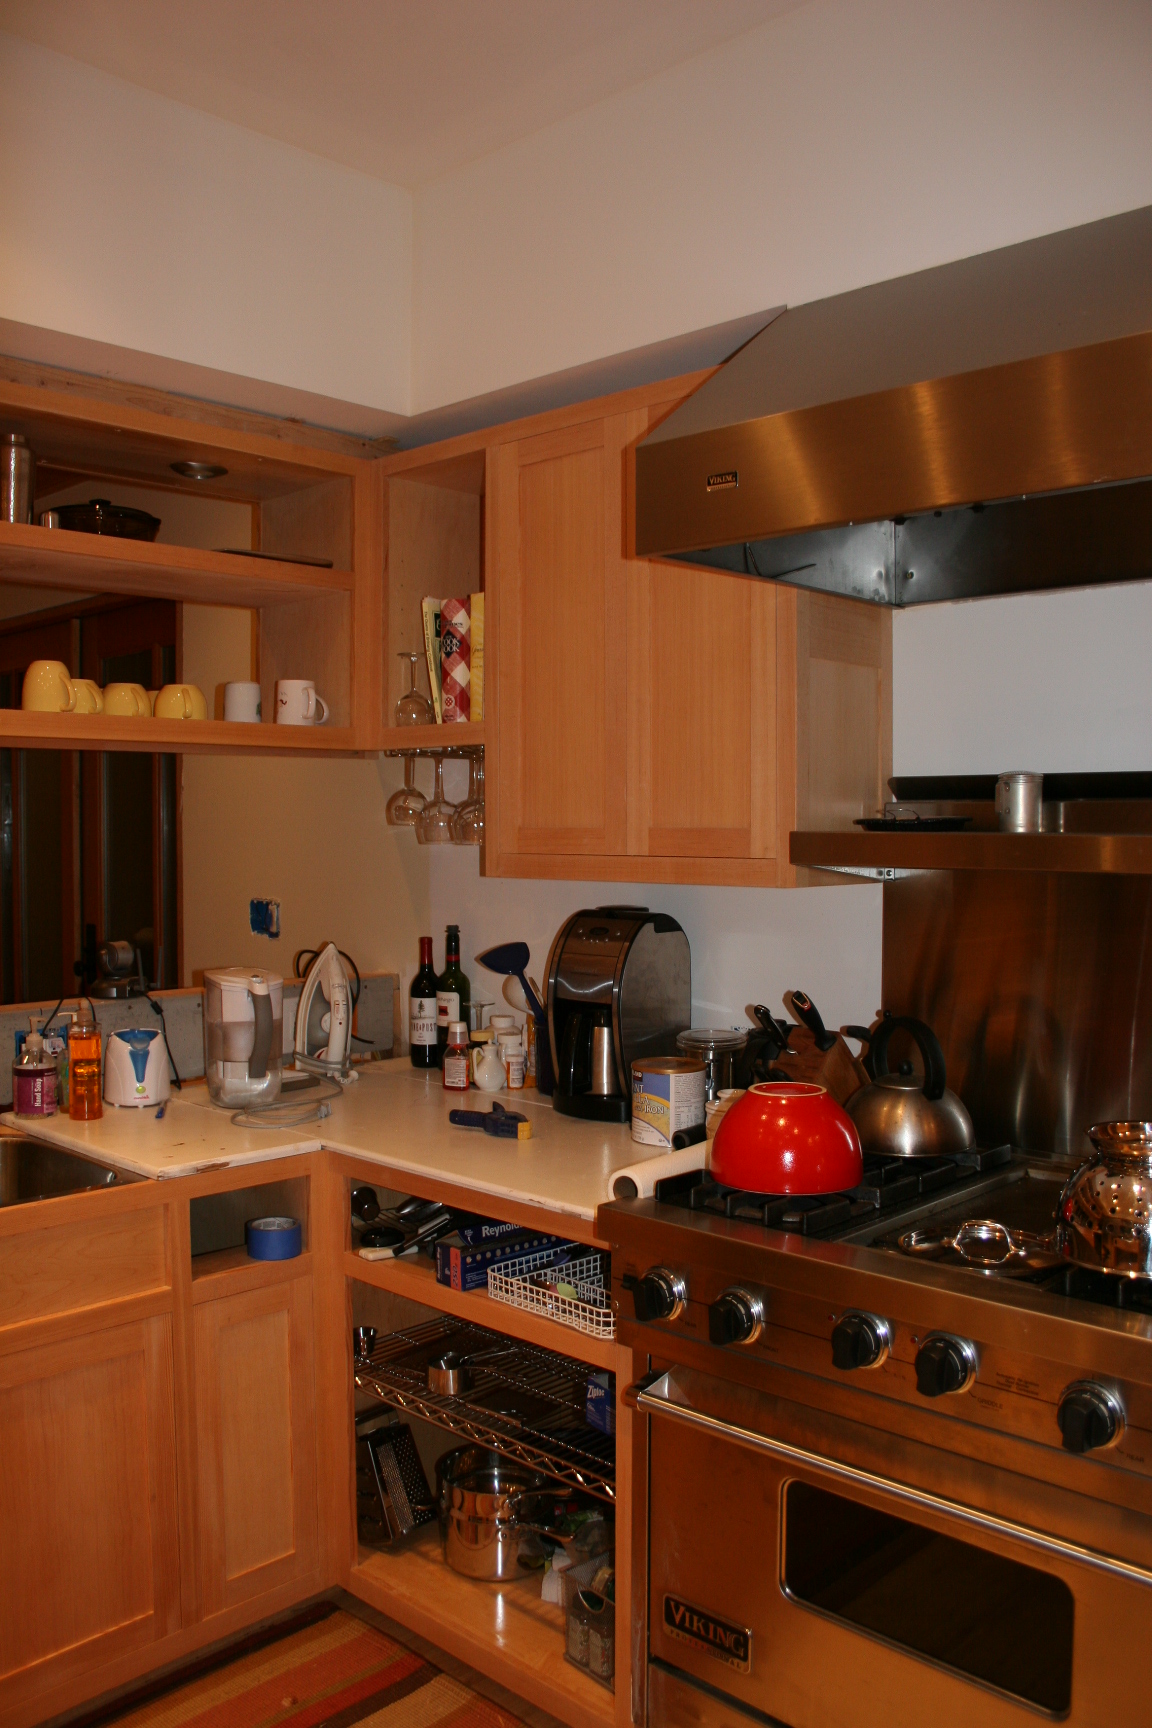
The cabinet doors are DONE! Trissa says I can cross them off my list!
I was up again at my usual 6:20 and saw Atticus and Trissa out the door by 7. My plan for the morning was to pick up where I left off last night, then to focus on installing all of the cabinet doors. Last night after I posted about Day 3, Trissa and I decided to start one more project. We have three interior doors that need varnishing; we took one of them and got the first coat on. This morning I had another coat on by 8am. After that I loaded up the van with garbage for the dump. It seems like I just went to the dump, but the pile in the back yard was pretty big.
I left around 9:15 for the dump, which had no lines or waiting like they do on weekends. Since I cruised through so quickly I decided to stop at 2nd Use - our favorite salvage yard - and check things out. The only thing I thought about buying were some tiles to use by the fireplace, but I’m glad I didn’t - they just weren’t right. After 2nd Use I headed to Woodcraft to get my hinges.
My gut said I should skip Woodcraft and go right to Rockler. My gut was right. Once inside Woodcraft I headed for the hinge section. They had several styles of European style hinges, which are completely hidden when installed. This is what we want. The different styles are for different types of construction: no face frames, face frames, surface mounted, inset, etc. Our doors are flush with the face frame (inset), and the hinge needs to mount to the carcass of the cabinet - not the face frame. Looking at the hinges in the bags I couldn’t figure out which type was which. It was at this point I started thinking about the display at Rockler that has samples of each hinge mounted on little sample doors. I thought, “Gee, Woodcraft must have that too”, and I went in seach of such a display. I found it halfway up the aisle, and quickly located the hinge I needed. I went back to the hinge section and found the bag with SKU # on the display. Because I didn’t want to make any mistakes or extra trips I looked in the bag to compare the hinge to the one on the display. Guess what? It wasn’t the same hinge.
Long story short: the sales people at Woodcraft (who I like - they’re always helpful and nice) spent 45 minutes trying to figure out why the hinge on display wasn’t the same hinge in the bag. Finally the woman suggested that I head over to Rockler.
Which I did. I was kind of frustrated that I spent nearly an hour in Woodcraft and came up empty handed. On my way to Rockler I stopped at Costco and put gas in my hungry van, and bought some lunch for the road. At Rockler I quickly found the hinge (the same one from the display rack at Woodcraft) and bought 11 sets. I also bought a Forstner bit and a jig for installing the hinges.
By now it was getting to be mid-afternoon and all I’d done for the day was apply one coat of varnish, go to the dump, and buy some hinges. It was time to get down to business, so I got methodical. I did a test with the first hinge to make sure I knew how it needed to go, then I went door by door around the room and got them all hung. Each door needed to be trimmed to size (most doors needed 1/16” trimmed all the way around), have 2 35mm holes drilled in the frame, have the hinges screwed in place. Then, on each cabinet I needed to drill 2 holes per hinge and screw in the hinge-base. I made a template out of aluminum to speed the process of drilling these holes accurately, and it was the best decision I made all day. Once the hinge-bases were installed it was a simple matter of snapping the doors into place. I’ll do a separate post about how these hinges work.
Trissa got home around 4:30 just as I was installing the last two doors. I think she’s pleased since she’s still smiling and because she keeps handing me crackers to eat with the beer she poured for me :)
Here’s where I’m at with the list. I’ll have to think about what to tackle tomorrow…
Kitchen cabinet doors. 11 total. 4 important ones for the base cabinets.- Kitchen cabinet drawers. 7 total.
- Upper cabinet crown.
- Kitchen nook seating and table.
- Kitchen island trim and panels.
- Kitchen under-cabinet lighting.
- 3 interior doors: sand, varnish, install with hardware. (Important baby-proofing item…)
- Paint kitchen ceiling and walls (already primed).
- Paint foyer ceiling and walls.
- Electrical panel - re-order the breakers
and document them all. - Strip and sand baseboard for the living / dining room. Determine if it can be re-varnished.
Cable TV to the kitchen. Forgot this when we had the walls open (DOH!)- Window sill for kitchen nook. Started this but is incomplete.
- Exterior lights by the back doors.
- Dining room chandelier (choose, purchase, install).
- Dining room speakers (purchase, install - I prewired for them before we drywalled…)
- Cat door platform (ask Trissa…)
Clean the upstairs hall closet - it’s a MESS!
5 Comments
Trissa·November 21, 2006
Woo hoo! Woo hoo! Woo Hoo! I love them- even if it means more sanding and varnishing!
Nick·November 21, 2006
Yes, they do need to be sanded and varnished. I varnished the panels before they went together, but the frames need final finishing work. Let’s wait until the drawers are done and do them all at once…
TTF·November 21, 2006
I really like the cabinets.
I agree with you - I drive right buy woodcrafters to fight traffic to get to Rockler (in Beaverton, Oregon). I may not always like their prices, but they really do have most everything.
I and my DW are spending out vacation this week doing the the same thing you are!
Good luck with it all.
Troy
Phil·November 22, 2006
The cabinets look great with the doors on. Looks like you did a good job finishing them. Much nicer than the ones we’re used to installing.
Greg·November 22, 2006
It drives me nuts to waste so much time trying to do the simplest thing. It is just this sort of thing that makes every project seem to take twice as long as you think it’s going to.
The cabinets look great.