Beam Me Up, Scotty
The last couple of weeks around our jobsite, er – “house”, have been non-stop busy with projects. Our radiant heating contractor, Paul Pollets, is arriving between the 14th and 18th to install our new boiler, and there are a number of prerequisites we’ve needed to complete for that project. Similarly, my dad is arriving on the 15th for a week, and our plan is to install the actual radiant floor panels over the existing subfloor, and in the joist bays for the 2nd floor. For that project to happen I need to complete some of the major framing on the first floor.
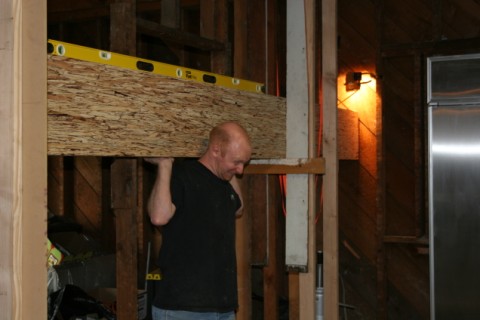
The “major” piece of framing was The Beam. The Beam is a 16 ½ foot long, 14” deep Parallam beam. Parallam is a wood product that is made from strands of wood compressed together under high pressure with some sort of glue. It’s very strong, and is often used in new construction for beams and headers. Ours is a bit over-sized for our usage, but I’d rather be over-engineered than under-engineered. At 23lbs per linear foot, our beam weighs nearly 400lbs. It took 4 people to carry it up the hill and into our house – and it was a lot of work. Trissa’s back is still smarting.
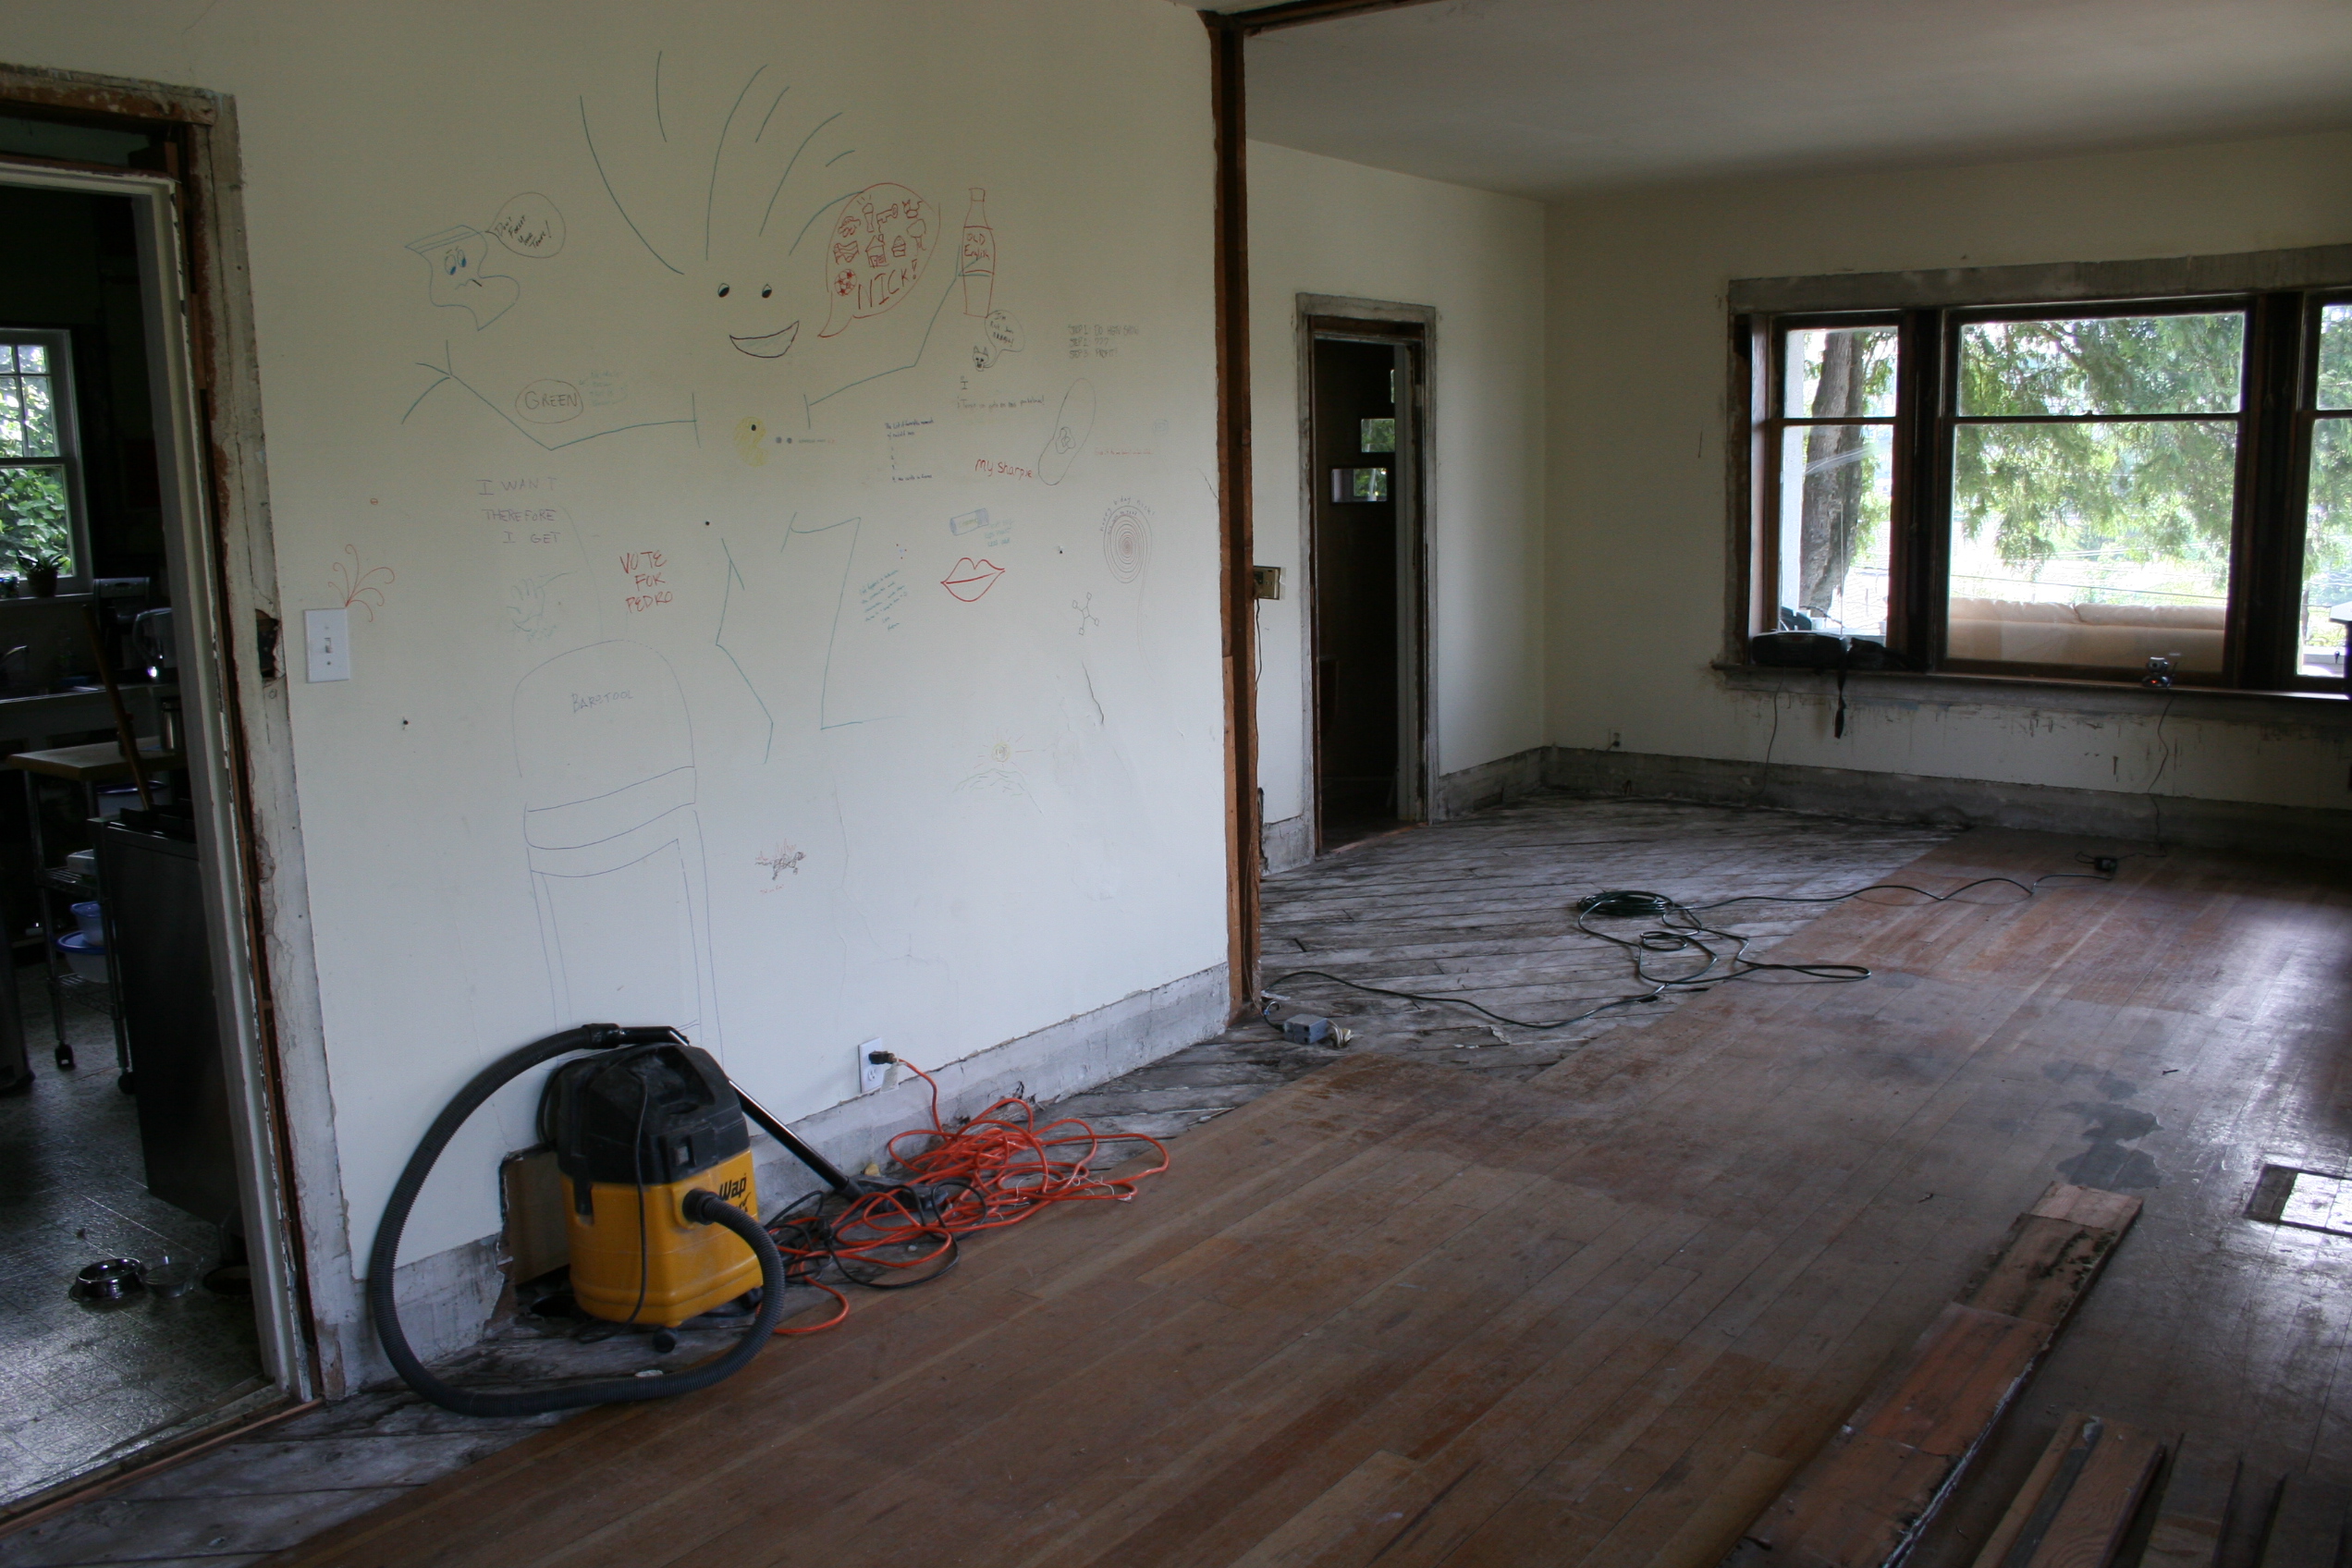
The Beam opens up the space between our kitchen and dining room, replacing a wall that was there previously. When we demo’ed the plaster a few weeks ago I took note that this particular wall was a bit under-structured. A few of the 2x4s had been cut through when the house had been previously retrofitted for forced air. Here’s a picture that shows the wall the beam replaced - on the left side:
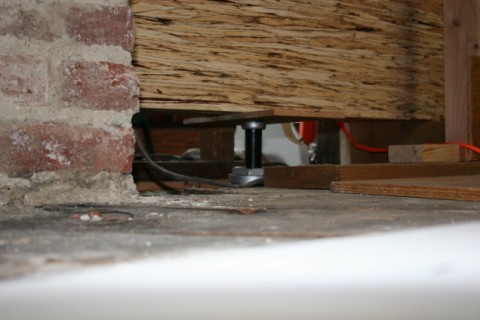
The Beam is only as strong as the posts that hold it up, and these need to transfer weight down to the foundation of the house. Last year when we worked on our Media Room (which is below the dining room) I paid special attention to the points where the posts would transfer weight down to the basement. On one end, the post would set directly on the foundation. On the other end, the post would transfer the weight down to the ground via a concrete footing I poured and reinforced with rebar.
With all of the prep work completed, and the beam laying on the floor beneath it’s future home, we grappled with the problem of lifting it into place. On the positive side, the beam’s location is actually beside the existing wall – so the existing wall could remain in place until the beam was operational. This alleviated the need to build a temporary wall to hold up the 2nd floor. On the negative side, the beam weighs nearly 400lbs, and it needed to be raised 9 feet in the air.
We considered renting some sort of miniature forklift that could be used to lift the beam to the ceiling. It turned out this would be an expensive option and would require two lifts – one for each end. I also considered using a block-and tackle to raise the beam most of the way, but again, I don’t own this equipment, nor would it have been a 100% solution.
I do own a couple of bottle jacks. (And I’ve used them a lot, to lift the house during foundation repair, etc). They only extend 9” at a time, but they certainly have the lifting capacity (20 tons each…). I decided that while it would take a while, we could lift the beam using these jacks – one at each end. The bonus was that we’d be able to use the same jacks to press the beam up against the ceiling joists while we installed the posts, which would give us a nice snug installation.
There were a few issues to deal with first, primarily safety. If we simply placed the beam on the bottlejack heads and started lifting, it would very quickly rock and roll and fall to the floor (and, perhaps “through” the floor…). Not good. I wanted a system that would prevent this, and also add some insurance in case one of the bottlejacks failed. I didn’t want to have to contend with a 400lb beam 6 feet in the air and a bottlejack that decided to give out. I decided to erect two scaffolding towers on each side of the beam, at each end of the beam. To address the “roll” issue, I created a track for the beam to ride in by attaching plywood skids to the scaffolding. For safety, I added some webbing tie-downs with a ratcheting mechanism, which allowed us to cinch up a “safety net” with each jacking cycle. We also prepared some cross pieces out of 2x4s which could be screwed to the scaffolding to hold the beam in place after each jacking cycle (as the jacks needed to be reset every 9 inches).
With the scaffolding and safety straps in place, we started the lifting cycle. Each cycle involved pumping the jacks up to their full extension of 9”, tightening the safety straps, and installing blocking to hold the beam while the jacks were reset for the next cycle. To reset the jacks we had to release the hydraulic pressure, then find a way to raise the jack 9” for the next go.
The lifting itself took a while (several hours) but was uneventful. It was a little scary seeing this 400lb monster floating 7 feet in the air, but at the same time a good feeling. This was one of the projects I’ve been looking forward to since I bought the house. I’m glad I didn’t have to lift this thing into place the old fashioned way:
Once the beam was lifted the full 9’ to the ceiling, I used the bottle jacks to apply even more upward pressure to press the beam into place. This had the effect of leveling out our 2nd floor just a bit because some floor joists had “sunk” more than others. Trissa had gone to bed and reported that the house made some interesting sounds as I did this.
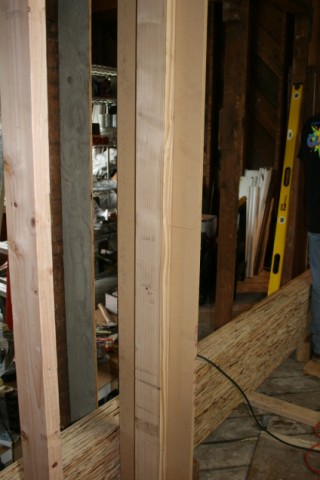
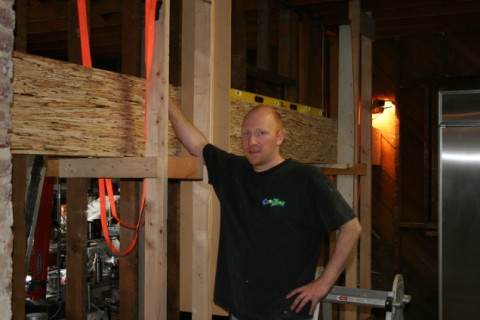
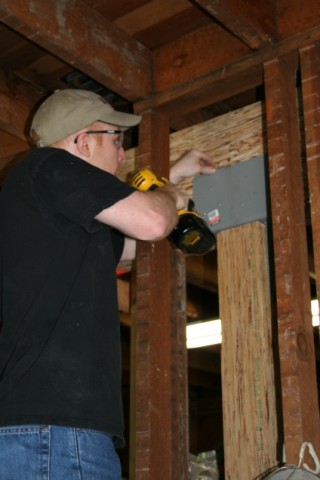
The final leg of this process was to install the posts. This involved installing Simpson end-caps that tie the posts to the beam, measuring and cutting the posts to length, then setting and bolting them into place. I cut the posts a hair longer than necessary since the whole thing will settle just a bit. I used the jacks to lift the beam just enough so that I could ease the posts into place without banging; when I released the jacks the beam set down hard onto the posts and everything was ship-shape. Using a 6’ level I ensured that the posts were plumb, then permanently bolted the Simpson caps into place. The only remaining task was to take down the scaffolding and the original bearing wall.
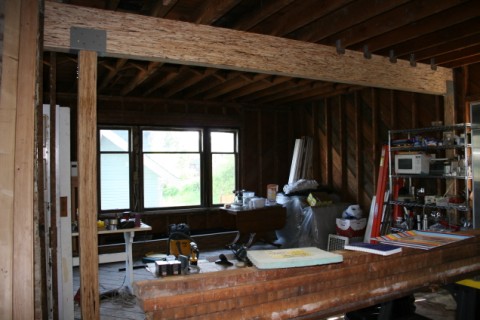
We now have a wide-open dining-kitchen area, and it’s pretty amazing space: Roughly 16’ long and 25’ wide; the beam spans 16’ across the midsection. It will close up a bit in our final floorplan; a counter will divide the two spaces with cabinets hanging down under the beam. And about 5’ of the now open floor space will be allocated to a new half-bath and an appliance cabinet. But the space will remain such that we’ll have clear views through the kitchen to the dining room, which will be really awesome.
3 Comments
derek·July 7, 2005
Bottle jacks tipping over is no fun. Most of us learn that the hard way. I had mine shoot out when I was jacking the basement, it bent my 2’ level in half. Even with 4 people, it must have been difficult to bring that in to the house, no wonder you have sore backs.
jason·July 7, 2005
Wow, that’s a nice feat of engineering. Very impressive. We’ll be doing a similar kitchen/dining room opening except I don’t think our wall is load bearing.. lucky us.
Jess·July 7, 2005
Hi Trissa,
Saw your comment about built-ins on my blog today… Keep an eye on the sky; I’ll try and take some pics this weekend and post them for inspiration. They are indeed built ins; we think they are original to the house. They’re fairly simple, which you’ll probably like! Easy-ish to build, I’d imagine, if you’re good with a level. I’m not, so much.:-)